Friday, June 15, 2012

Mochi with Sweet Peanut filling


Mochi!!! i loove mochi...especially ones that are of many different colors. my friend was having a Japanese themed party so i told him i'd make something yummy and sweet that goes with the theme. 

 first! i made the sweet peanut filling. i basically just put peanuts and sugar in a food processor and pulsed until i had a crumb-like consistency. the sugar added was to taste; i just eye-balled how much i added...it looked like 1 1/2 cup peanuts to 1/4 cup sugar and it tasted pretty good after i put it in the food processor. not too sweet but sweet enough mmm. 

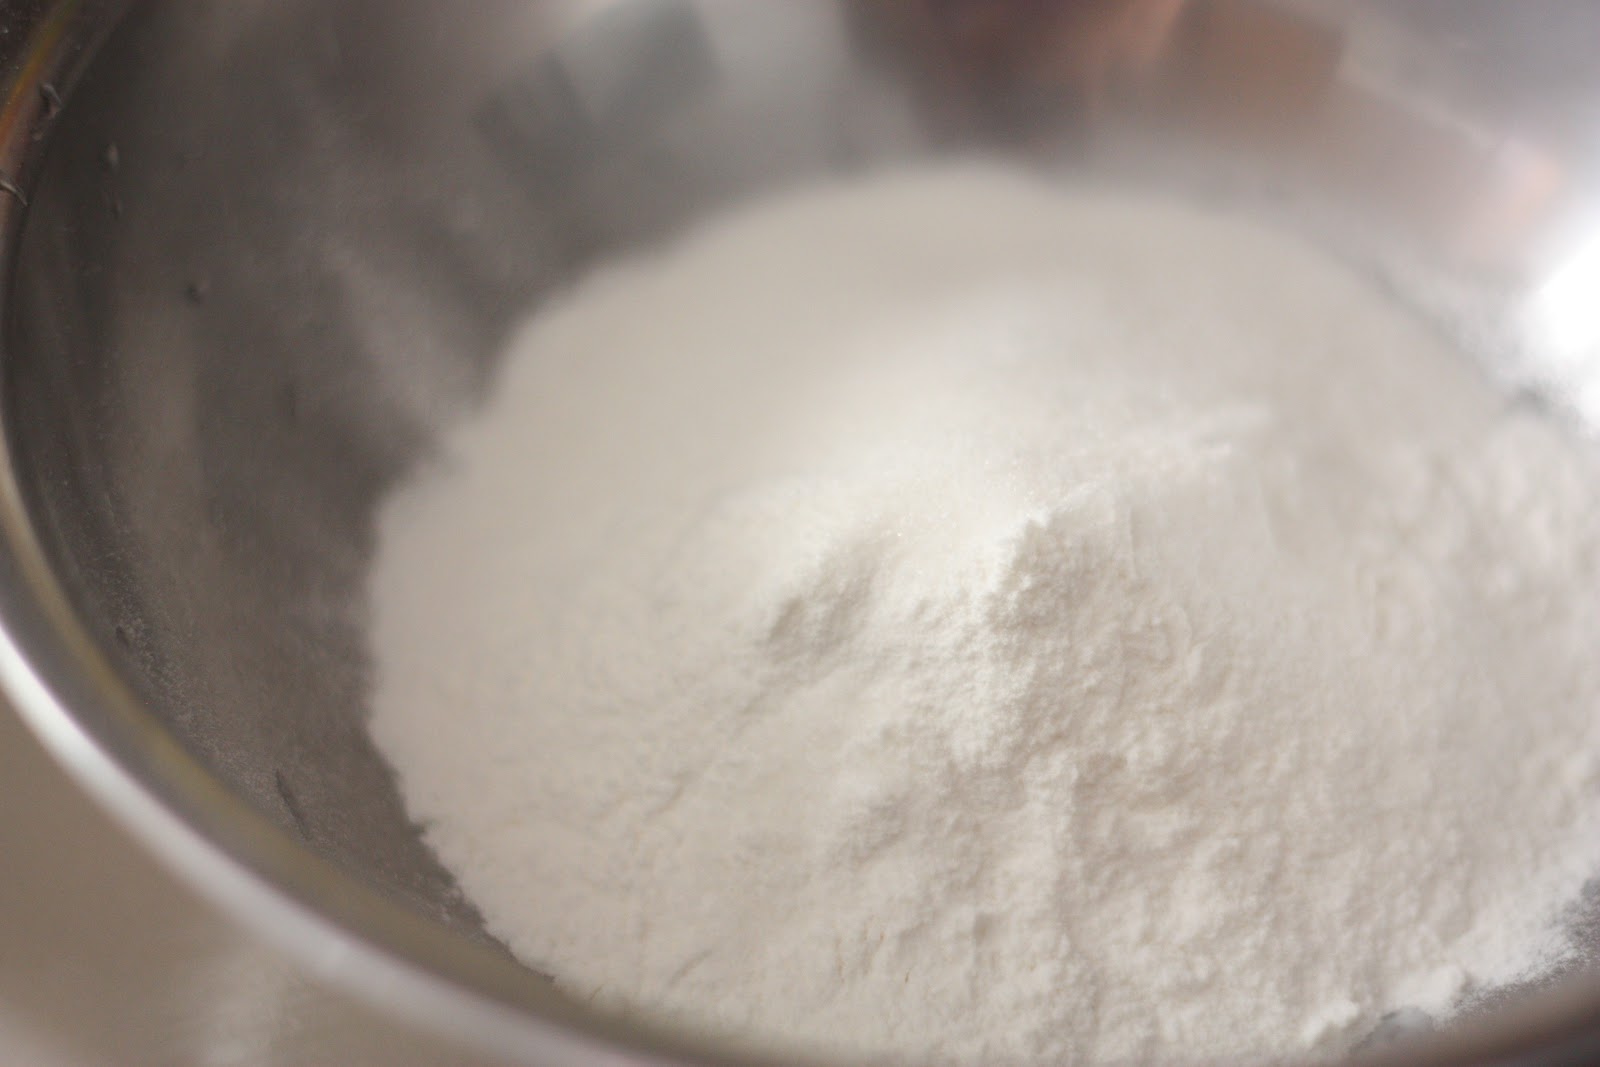
 now on to the mochi itself! i didn't use the mochiko glutinous rice flour; instead, i just used what i had which was a generic type sweet rice flour. in a bowl, add 100 grams of sweet rice flour and 2 tbsp of sugar (or more if you want it sweeter). 
 in another pan (i used my 8x8 baking pan) pour in some potato starch, which you can get at a super asian store. this extremely helps with the crazy sticky mochi (it's crazy sticky!!)

 add in the 1/2 cup water into the flour/sugar mixture, 1/4 cup at a time and stir until there are no pockets of flour. if you want to add some color into your mochi, add the dye with the last 1/4 cup of water. 
then place the bowl over a bain marie, or simmering water on top of the stove, and let it steam for 15 minutes. 

 once it's done, wet your spatula and stir the mochi around until it forms a uniform dough. then dump it into the pan with the potato starch. while it's still warm (which helps the mochi stretch alot) divide the dough into 8 equal balls. 

 take one of the mochi balls and stretch out the ends to make a disc. brush off the starch as best you can..

 and add a good teaspoon of the filling into the middle. don't add too much or it'll burst. i've had that happen to me the first four times.. -.- 
 pinch the ends all together and then place the mochi ball end side down and rotate the mochi with your hands to shape it into a more circular shape. make sure you have enough potato starch in your pan! i'm soo serious when i say the mochi is extremelyyy sticky! 

 the mochi was soo easy to make that i made alot of batches with different colors!
with the green one i just added green tea powder into the flour/sugar mixture before i added the water! it was so good! 

even though i used the same filling in all of these, you can add some variety like red bean, chocolate ganache (mmm), nutella(!?), ice cream(???) and so much more! get crazy!

Ingredients
peanut filling:
1 1/2 cup peanuts 
1/4 cup sugar (or to taste)

Mochi: 
100 grams sweet rice flour
2 tbsp sugar 
1/2 cup water

Thursday, June 14, 2012

Easy Lemon Squares


Yumm. These lemon squares were tart yet sweet..and so easy!! My friend asked me if we could bake something fast and easy for her supervisor and of course i said yes! 


first, you'll have to make the yummy, buttery shortbread mmm. this has always been my go-to shortbread recipe and everyone goes insane for it. 
cream the butter. add the powder sugar, flour, and vanilla and mix until it forms a dough.

cover the dough in plastic wrap and let it rest in the fridge! 

 after the 10 minutes is up, grab an 8x8 inch pan and spread the dough with your fingers! i think it would have been smarter to line the pan with parchment paper buuut..i totally forgot. the sides of the dessert were pretty stuck but the middle parts came out just fine. 
anyway, bake for 25-30 minutes in a 325 degree oven or until the edges are golden brown. 

meaaanwwhiillee.... mix together zest and juice of 2 lemons, 4 eggs, 1 1/2 cups sugar, and 1/4 cup flour. and that's it for the lemon filling!!

 let the lemon mixture sit for 10 minutes before pouring into the semi-cooled shortbread. bake for 20-25 minutes in 325 degree oven until the edges are browned and the filling is set but not too jiggly.. 

 let it cool completely before cutting!... well i couldn't wait until it was cooled, so i just cut the sides off and ate it. soooo goood!! i cut the lemon squares with a knife that i ran under hot water so i could get those sexy clean sides. 
oh! and in my opinion, the lemon squares tasted even better once it's been cooled way down in the fridge. the flavor of the lemon just pops out and wakes up your tastebuds. delicious. 

Ingredients
shortbread: 
1/2 cup butter
1/3 cup powder sugar
1 cup all purpose flour 
1/2 teaspoon vanilla

lemon topping:
4 eggs
zest of 2 lemons 
juice of 2 lemons 
1 1/2 cups sugar 
1/4 cup flour

Thursday, June 7, 2012

Hi...

I know. I suck at updating my blog. And people have come up to me and told me that they check it everyday and then I feel worse. Since school is almost over though, I'm going to try really hard to revive my blog! for some reason  i just didn't find the motivation to update my blog because the baking process is so much faster when i don't need to take pictures every 5 seconds. but i will post a new recipe and instructions soon, i promise!

Here are some of the things i've made in the past couple weeks:

mini chocolate cupcakes and mini vanilla tea cupcakes topped with pretty pink buttercream frosting! i made these for my cousin's baby shower . they loved it! i also made the toppers as well! they took forever.
white chocolate green tea truffles covered in dark chocolate. 'nuff said.

my vanilla coffee spiked chocolate cake filled with strawberry jam, whipped cream and chocolate buttercream :)

after making endless macaron batches a couple years ago (and failing miserably),   i needed a break...until now. i made these yummy green tea macarons filled with white chocolate green tea ganache! i wasn't used to the oven so the bottoms kind of burnt..
then i made these cute mini ones with my friend! i loove the color scheme :)

then i made these babies. chocolate macarons filled with peanut butter buttercream frosting. this was the most perfect batch of macarons i ever made. 
look! no hollow shell!! i was completely shocked and i felt soo accomplished!! it was such an emotional moment for me -.- 
ok. i was really proud of these chinese hot dog buns because they smelled and tasted like legit ones from asian bakeries. after one bite, i felt like i was 6 years old again, sitting in the front seat of the shopping cart while my mom pushed me around.  
i made creme brulee! i used half heavy cream, half soy milk (since i don't drink milk milk...) because i wanted to cut the richness. i should have used more heavy cream than soy milk as it was kind of more runny than what i was used to.

my mom loves eclairs so much. i never really understood why...until i made these for her  on Mother's day. they were so yummy and fresh and the dark chocolate on top with the pastry cream filling just made the cream puff...just..amazing. i can't even explain. 

green tea and chocolate bread! this is in my freezer now, in case i have a matcha/chocolate emergency. 

i made these whole wheat chocolate chip muffins for my group presentation! they tasted so good and healthy! in a good way. 
yummy banana almond muffins for my second group presentation! i just love bribing the audience and  the teacher with baked goods. 

so that's what i've been doing lately...the next time i make something, i'll take plentyyy of pictures and update this shiz. :)

Monday, March 19, 2012

Happy St. Patty's Day...two days ago


Sorry I posted this waay after St. Patrick's day, but my internet at my apartment is so horribly slow... these cupcakes can be enjoyed even after St. Patrick's day, since they're amazingly delicious! these chocolate coffee cupcakes had a hint of Bailey's to give it that irish coffee taste, while the swirled Andes mint frosting added another dimension of yum. everyone went crazy for the super soft and light buttercream frosting and the extremely moist cake!

so if anyone is dying to learn how to make a fool-proof moist cupcake and frosting that tastes sooo freakin' light like a whipped cloud, follow my recipe and instructions!!


cream slightly room temperature butter. add sugar. beat until light and fluffy. add a cap full of vanilla extract and one large egg and beat until it looks like this. 

sift cake flour, baking powder, cocoa powder, and a dash of salt twice. then add 1/4 of the dry mixture into the wet mixture. fold mixture just until there aren't any more dry pockets of flour.

add 1/4 cup of Baileys into the mixture to get just a small hint of Baileys in the cupcake. You can add 1/2 cup if you want the flavor of Baileys to be stronger. fold that into the mixture, followed by another 1/4 of the dry mixture.
make 1/2 cup of coffee with milk and coffee granules and alternately fold the coffee and dry mixture into the batter. make sure you end with the dry mixture!

pour into liners 3/4 of the way and shake/tap the bottom so the batter can bake evenly without any weird bubbles. 

bake at 300 degrees for 25 minutes! poke a chopstick or a toothpick into one of the cupcakes and, if it comes out clean, it's good to go!... but if the chopstick/toothpick doesn't come out completely clean, that would be even better, since the cupcakes will bake out of the oven also! so taking it out before it's fully baked will prevent the cupcakes from overbaking, so you'll end up with perfectly moist cupcakes every time :)

now let the cupcakes cool and take out 2 sticks of butter. the butter has to be very room temperature. i couldn't really wait for the butter to get there... so i put them in the microwave for 5 or so seconds. i made sure they didn't get into the clarified stage; they still have to have their normal solid butter color.. i warmed them up just until they got soft... but not melt-y soft... i hope that made sense.

so for the perfect light buttercream frosting, the ratio of butter to powdered sugar is 1:2 cups. i took the very room temperature butter, powdered sugar, and a cap full of vanilla extract and whipped that on high for 3-4 minutes. i guess doing this incorporates a lot of air, which makes the frosting very light, like whipped cream. 
divide the frosting into two parts and dye one green. i used my ateco gel food coloring so i only added a tiny drop and it made this beautiful green color :)

for the other half, i melted three andes mint pieces and 1 teaspoon of semiweet chocolate chips (to cut the peppermint flavor) and mixed that into the frosting. 


to make that really cool swirl effect, i first wrapped the frostings separately with plastic wrap and twisted the ends tightly. refrigerate for just 5-10 minutes since whipping it for a long period of time can make the frosting too runny. 

after refrigerating, i put those two in a large ziploc bag with the frosting tip at the end. pull the ends out all the way through the frosting tip until it gets to the actual frosting...

cut those ends off! start piping on a plate or something to make sure it makes the swirl effect before you try it on an actual cupcake. 

done! oh yeah... before i baked the cupcakes, i snuck in a half a piece of andes mints into the middle of the batter of each cupcake :] surprisee!!


Ingredients
cupcakes (makes 8):
1/2 cup butter
1 cup sugar
1 large egg
1/2 teaspoon of vanilla extract
1 cup cake flour 
3/4 teaspoon baking powder
1/4 cup cocoa powder
dash of salt
1/2 cup coffee with milk
1/4 cup Bailey's irish cream
 (can be completely optional; just add 3/4 cup of coffee instead of just 1/2 cup)
frosting:
1 cup butter
2 cups powdered sugar
1/2 teaspoon vanilla extract
3 pieces of andes mints
1 teaspoon of semisweet chocolate chips
green food coloring

Wednesday, March 14, 2012

Dark (red) Velvet Cookies...because my food coloring FAILS


Yes. I set out to make beautiful red red velvet cookies but they ended up so chocolate-y brown. but i figured since red velvet and devil's food cake are somewhat interchangeable, these cookies can be considered devil's food cookie.... with white chocolate chips. Mmm. with the combination of cake flour and all purpose flour, the cookies came out with a crunchy outside and a soft chewy inside whoo!  


you know the drill. cream a stick of slightly-cooler-than-room-temperature butter with 1/4 cup white sugar and 3/4 cup brown sugar until light and fluffy.

add a teaspoon of vanilla and an egg and mix to combine. 

 add a teaspoon of red food coloring (if you want to make it red velvet) and mix that in until incorporated.

 i sifted 3/4 cup cake flour, 3/4 AP flour, 1/3 cup cocoa powder (maybe a little less to prevent the cookies from turning completely brown if you're into make red velvet...), 1 teaspoon baking soda, and a dash of salt twice. this ensures no lumps! i sifted it in thirds into the dough and mixed until just incorporated. 

 when the last part of the flour is mixed in and there's still little specks of flour present, add 1/2 cup of white chocolate chips (i wish i had added more because there weren't enough chips in each cookie) and mix that into the dough. 

 i used my ice cream scoop but realized the balls came out too big so i halved them. each ball came out to approximately 1.5 ounces. 

 double protect them balls of dough with saran wrap and let it chill in the freezer until they harden (approximately 30 min to an hour)! then transfer them to an airtight container or a freezer bag and leave it there overnight! seriously! it'll give time for the flavors to meld and also the butter won't be all soft and make your cookies spread out really thin in the oven. 

take the balls out of the freezer and bake them in a 350 degree oven for 12 minutes. to check if they were done, i stuck a toothpick in it. if it came out clean it's good to go! they came out pretty domed... so i lightly tapped them down to make them flatter. problem solved! 

note to self: cookies need more white chocolate chips!! 
crispy on the outside, thick and chewy on the inside. :)


Ingredients
1/2 cup butter
1/4 cup white sugar 
3/4 cup light brown sugar 
1 large egg
1 tsp vanilla
1 tsp red food coloring (optional)
3/4 cup cake flour 
3/4 cup all purpose flour 
1/3 cup cocoa powder
  (maybe a little less cocoa powder if you want to make the cookies more red)
1 tsp baking powder 
dash of salt 
1/2 cup white chocolate chips (or more)